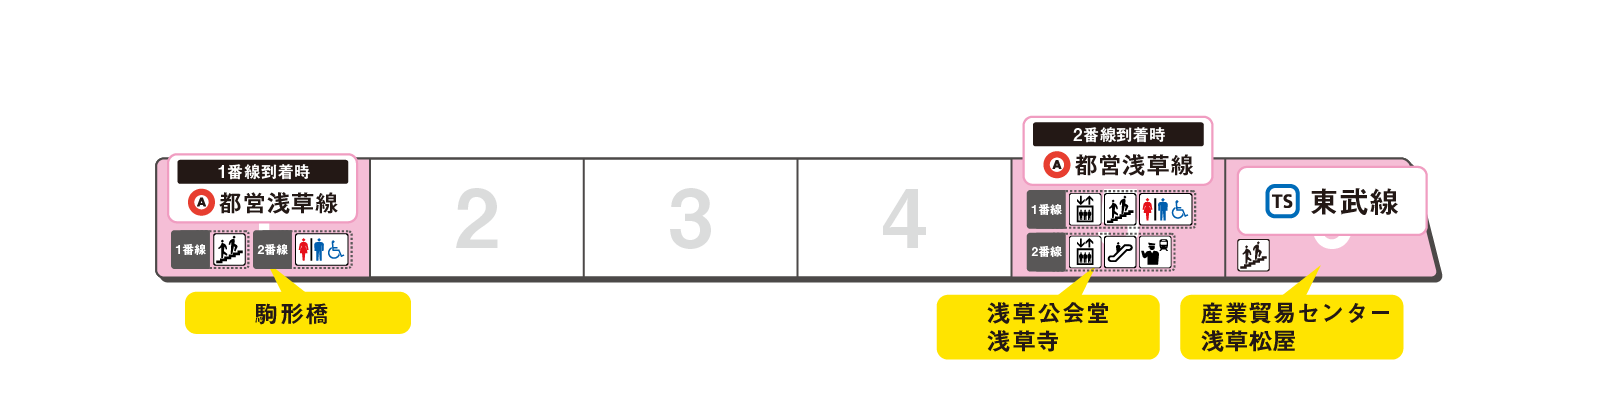
Lift route toward Kaminarimon
YOUR SELECTED AREA
Official station map
Approximate area on the operator’s 3D-style diagram. Selected by you; no live GPS or train tracking.
● Ginza Line — platform 1
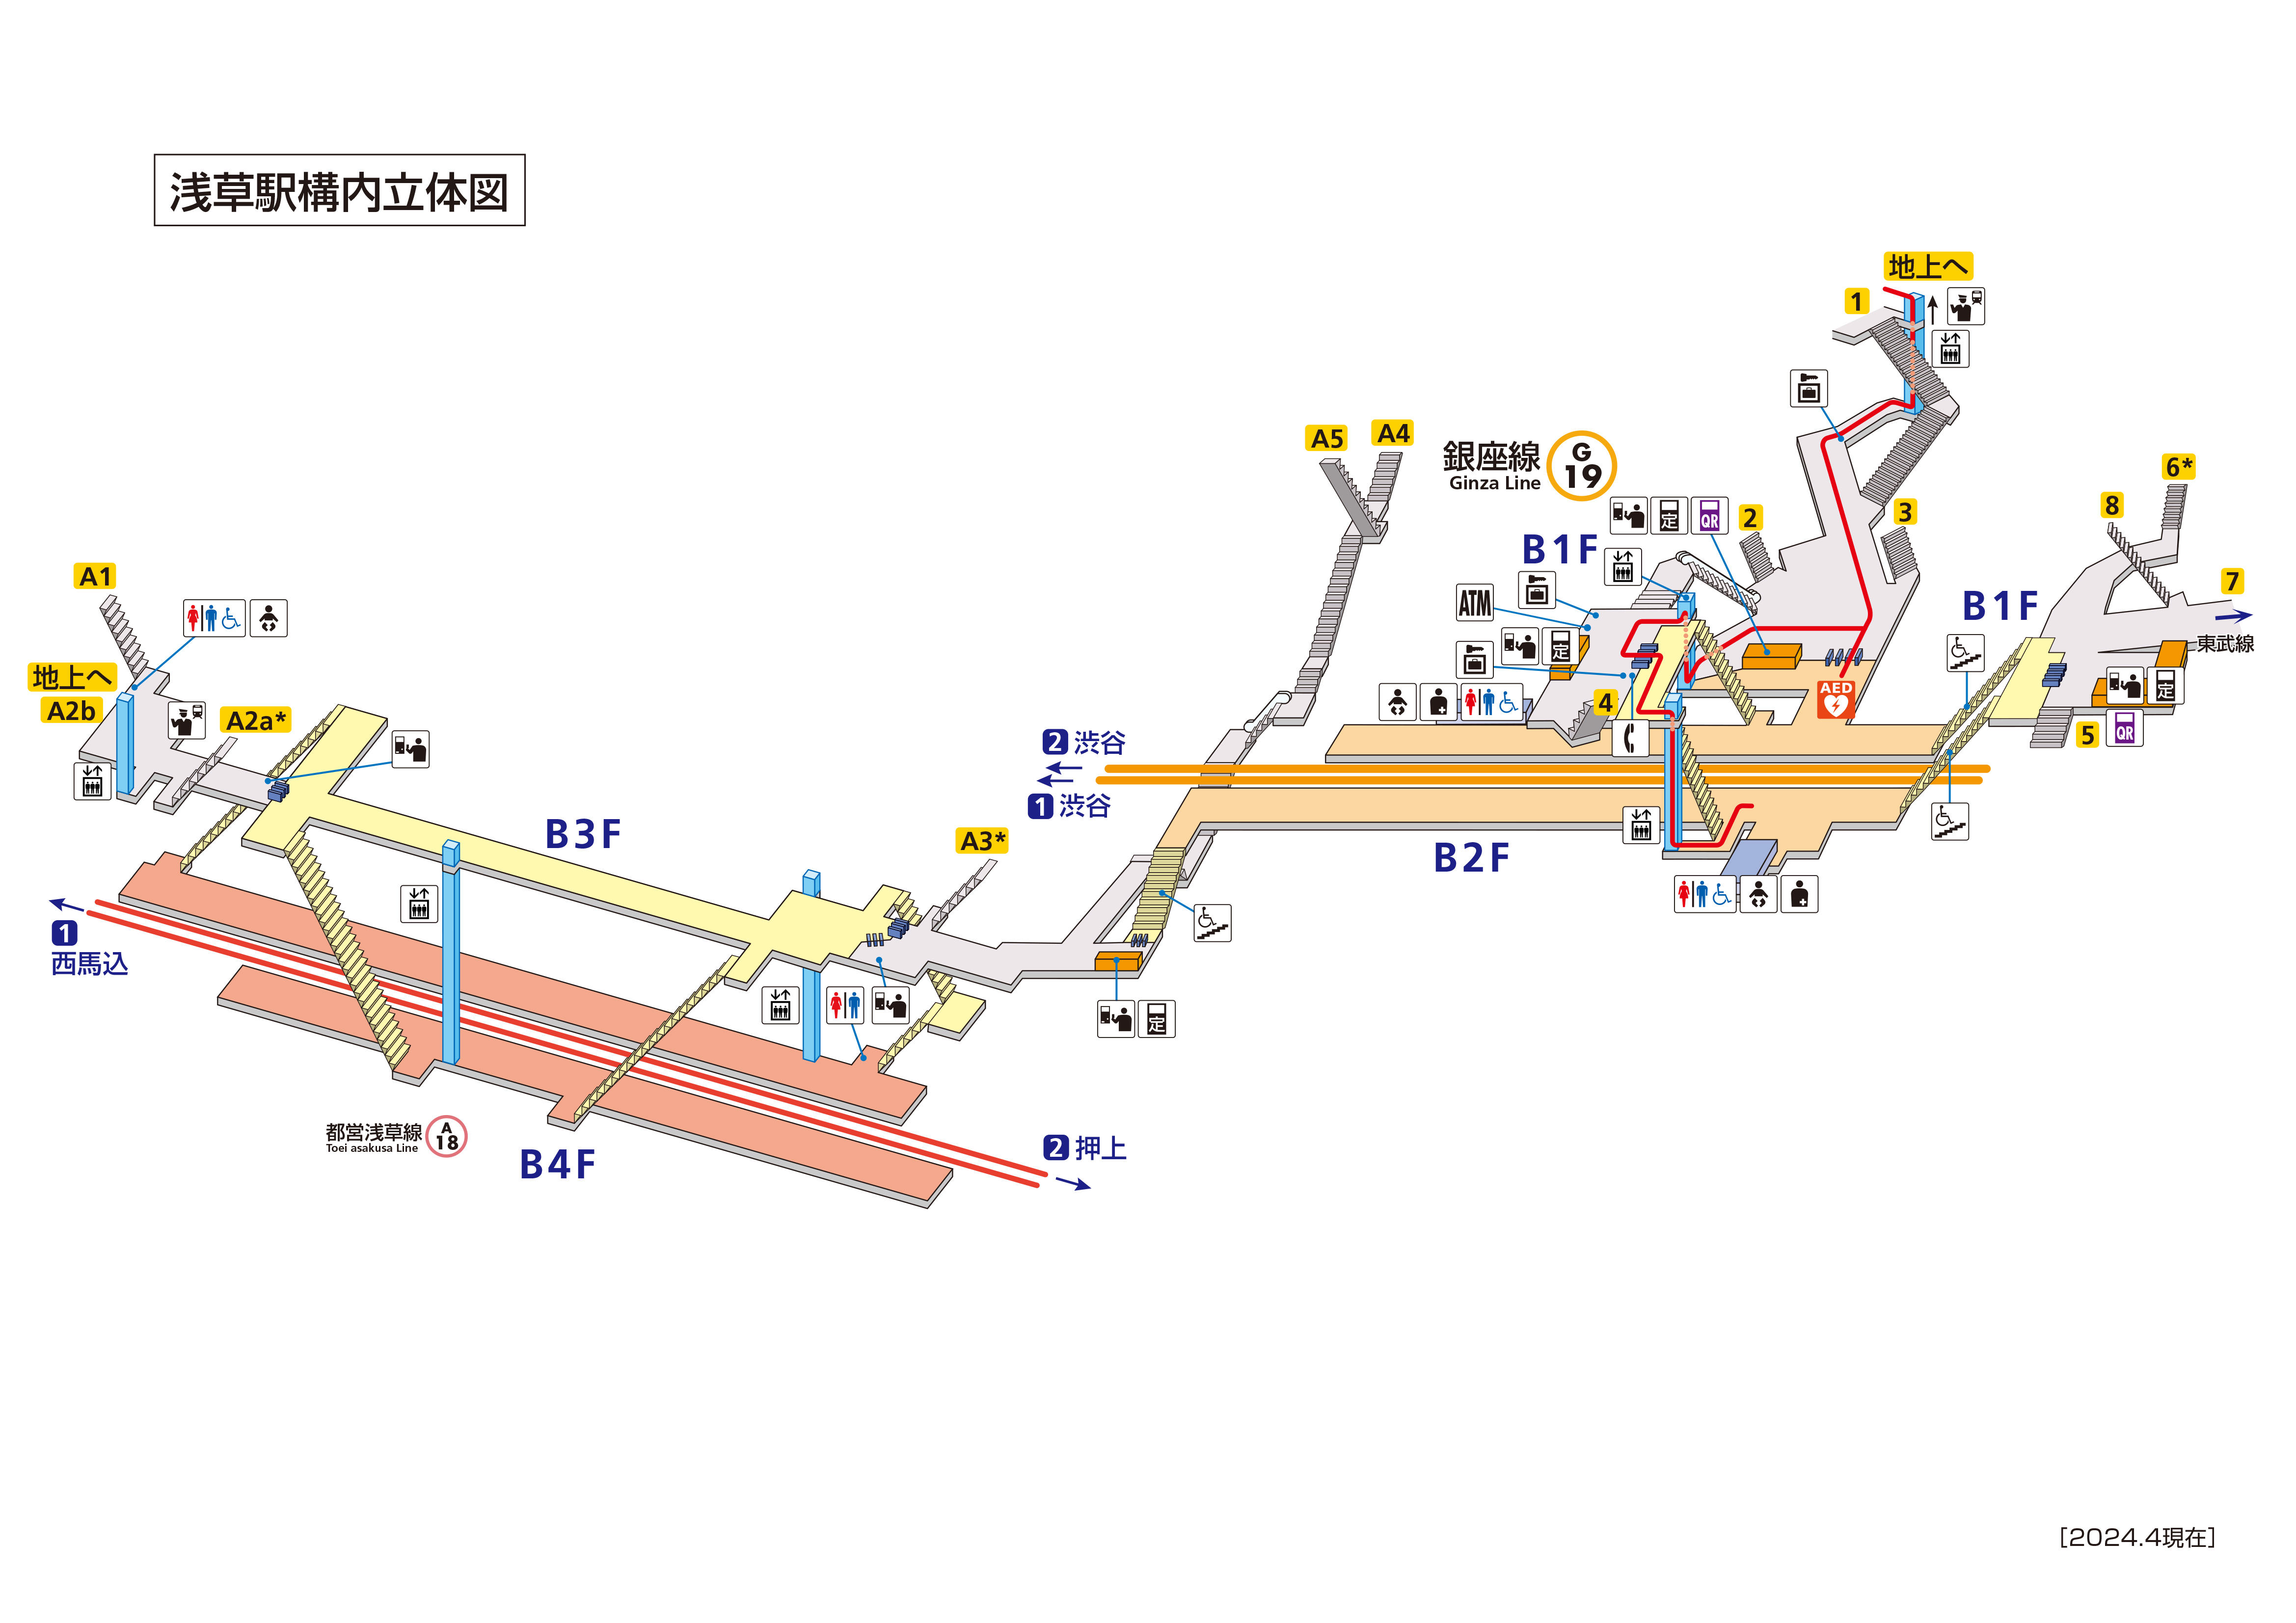
Map © Tokyo Metro. Pin areas reviewed against the May 2026 diagram. Follow signs on site.
Open official map website ↗Start: 1 · Arriving at Asakusa · platform 1 only
Where are you standing?
Choose a landmark you can identify. Your position is selected by you, not detected by GPS.
Look for these words and symbols. This is an illustrative sign, not a photograph of the actual board.
All checkpoints & route details
- 1. Ginza Line — platform 1吾妻橋方面改札Azumabashi gate
Find the lift symbol and the Azumabashi gate name. Follow the arrow on that sign to the lift, then take it to the gate area.
Reach: Azumabashi gate area
- 2. Azumabashi gate area浅草寺・雷門方面改札Sensoji / Kaminarimon gate
Leave through the ticket gate. Find the connecting lift signed for the Sensoji / Kaminarimon gate area. Use the lift to reach that area.
Reach: Outside Sensoji / Kaminarimon gate
- 3. Outside Sensoji / Kaminarimon gate出口 1 · エレベーターExit 1 · Elevator
Match Exit 1 and the lift symbol together. Follow its local arrow to the street lift. Do not substitute an escalator when using a stroller.
Reach: Exit 1 street lift
- 4. Exit 1 street lift地上 · 出口 1Street level · Exit 1
Take the lift to street level. Check the Exit 1 marker before confirming that you have arrived.
Reach: Street level at Exit 1
Carriage: Not verified · Follow platform 1 lift signage; carriage number not confirmed.
Platform 2 is not covered by this route. Ask staff for its accessible route. The source lists lift connections; this is a sequence diagram rather than precise turn-by-turn geometry.